Lighting / A field guide
Lighting.
Shape the
scene.
One room. One moment.
See what the light changes.
Explore the source, read the shadows, and take the lighting into your own images.
Explore the light Learn to read a shadow
01 / Choose the light
Give the light
a source.
A useful lighting prompt names where the light comes from and what it does to the scene.
Look forFollow the gradual transition across the cheek, then look at the key’s shadow.
Eight starting points. Each is a visual choice, not a fixed emotion or a ranking.
02 / Read the shadows
The shadow
tells you.
Change one thing. Look at what follows.
Get the soft window prompt
Use the complete scene with your own optional subject reference.
03 / Guide the eye
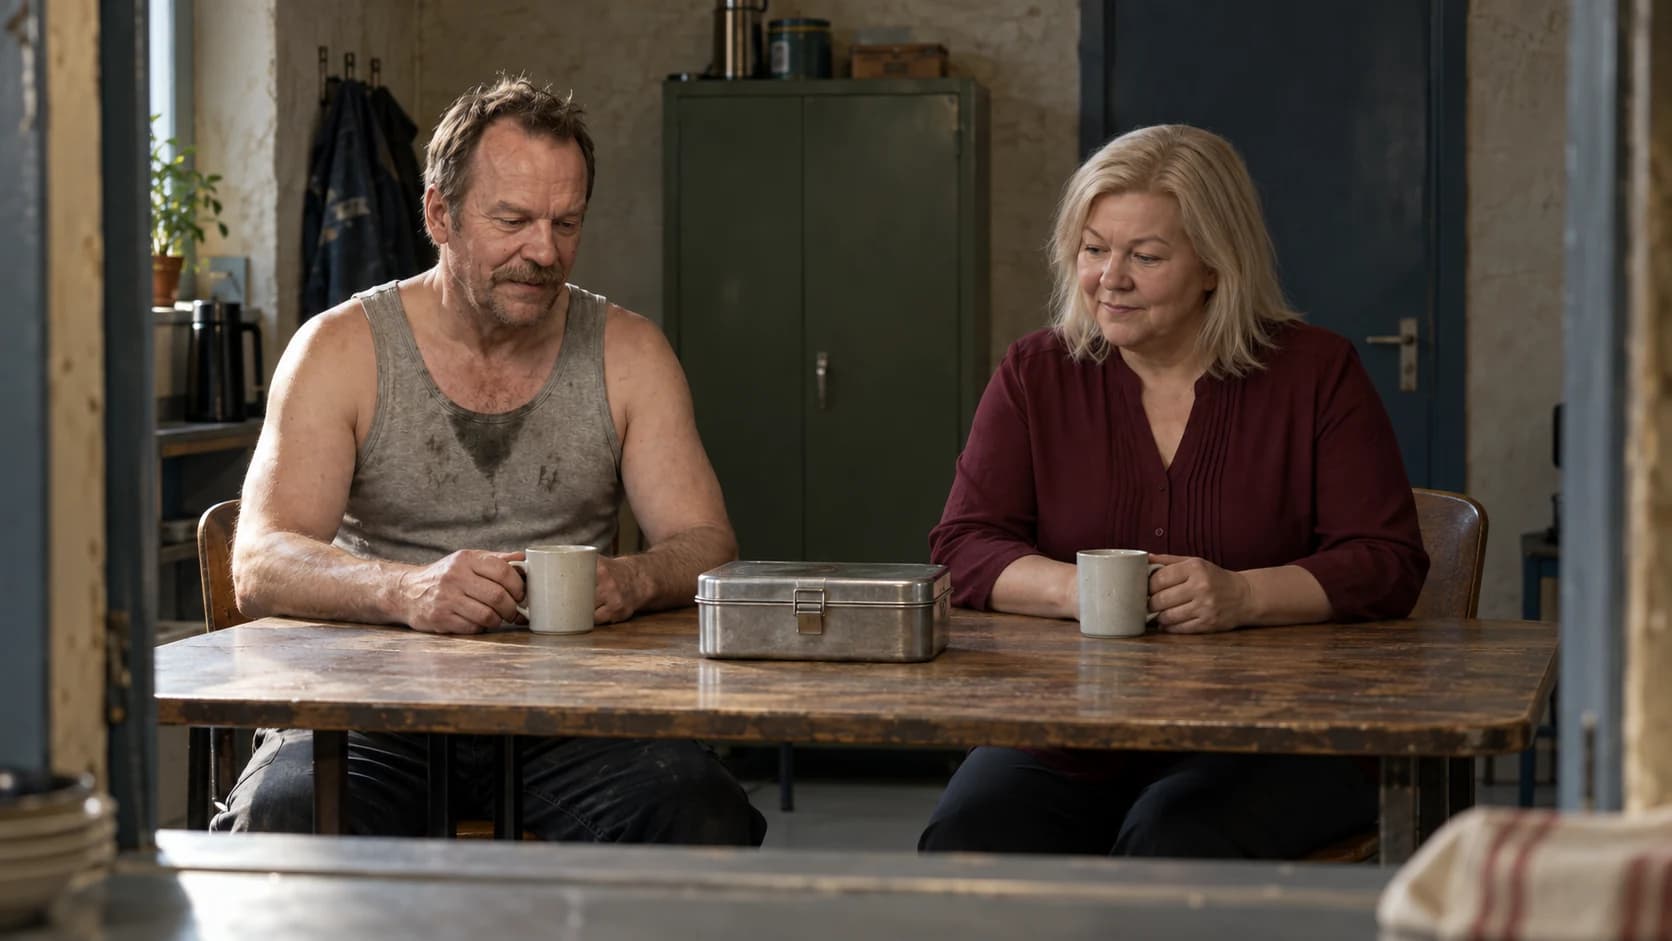
Two people.
Where do you look first?
Keep the moment.
Shift the emphasis.
04 / Fix the light
Make the next prompt
more precise.
Choose a problem.
Change one useful instruction.
01My image looks flat.
A source near the camera and abundant fill can reduce facial modeling. Try moving the main source to one side.

Get the soft frontal light prompt
Use the complete scene with your own optional subject reference.
Replace conflicting lighting instructions in your existing prompt.
02The face disappears.
If the dark face is unintended, return a little broad light from near the camera. A deliberate silhouette is also a valid choice.
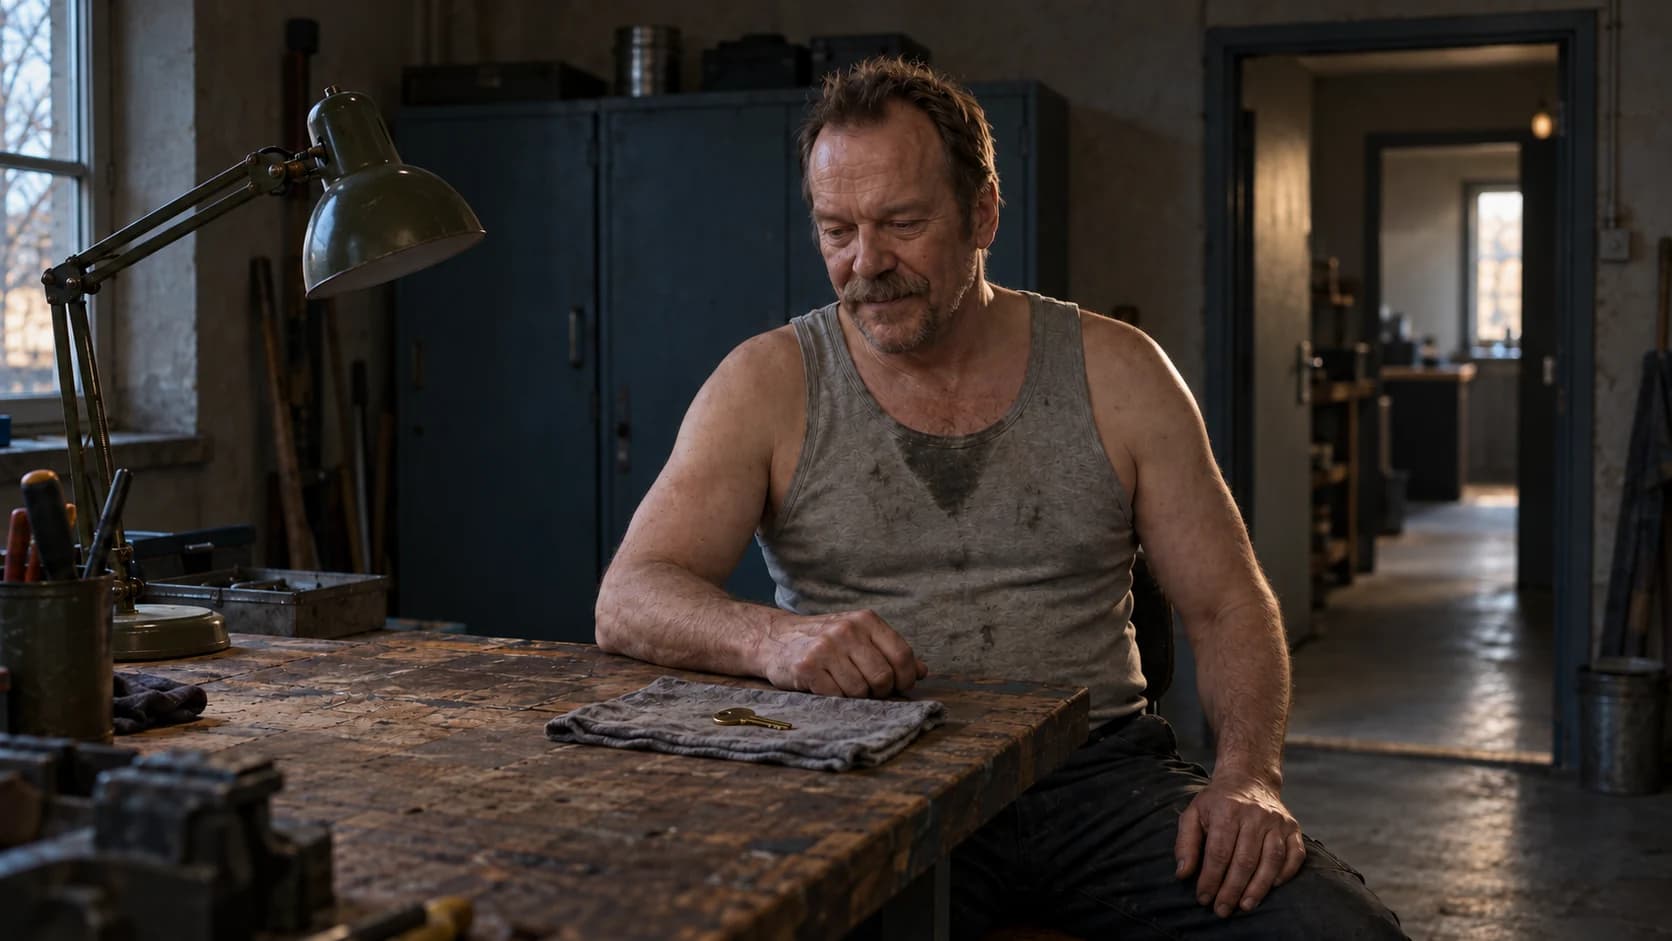
Get the backlight prompt
Use the complete scene with your own optional subject reference.
Replace conflicting lighting instructions in your existing prompt.
03Everything glows.
Give the illumination a clear source, a direction and a limit. Bloom should not erase the materials or stand in for lighting.
Replace conflicting lighting instructions in your existing prompt.
04The subject blends into the background.
Change the tonal relationship behind the subject, or use an edge light when a source in the scene can explain it.
Replace conflicting lighting instructions in your existing prompt.
05Warm and cool light look painted on.
Assign each color to a source and the surfaces that source reaches. Keep familiar skin and garment colors recognizable.
Replace conflicting lighting instructions in your existing prompt.
05 / Make it yours
Describe the light.
Keep your story.
Start with the source. Finish with what you want to see.
- 01Source
- 02Direction
- 03Apparent size
- 04Fill
- 05Color relationship
- 06Visible result
Replace conflicting lighting instructions in your existing prompt.
A few useful words
Name what
you can see.
No equipment list required.
Start with the effect in the frame.
Key light
The main source shaping the subject. In the window example, it reaches Brutalisti from camera-left and establishes the direction of the facial shadows.
Fill
Light reaching the shadow side. More fill makes that side easier to see; less fill increases the difference between the lit and unlit sides.
Negative fill
A dark surface absorbs light that would otherwise bounce back. The black flag in the diagram deepens the shadow-side cheek without changing the window.
Hard light
A source that appears small from the subject produces more defined shadow edges. Follow the forearm shadow on the workbench in the hard-light example.
Soft light
A source that appears large from the subject produces broader shadow transitions. Distance and the illuminated source area both affect that apparent size.
Practical light
A working light visible in the scene. Here, the desk lamp motivates a warm pool across the hand, key and nearby face.
Backlight
Light arriving from behind the subject. It can pick out hair and shoulder edges while the face remains darker, depending on the amount of fill.
Color temperature
A way to describe how warm or cool a source appears. The mixed-source example combines a warm lamp with cooler window light. Camera white balance also changes their appearance.
Build the whole scene
Choose the angle.
Place the light.
Shape the color.
AI-generated scenes and lighting interpretations. Small details may vary between versions. Diagrams show the intended setup.